
Автор статьи
Глеб Антоненко


Where can I create custom fields?
- CRM entities (lead, deal, company, contact, …)
- tasks
- user card
- lists, business processes, highload blocks
Do not allow duplicate fields!
Before creating a new field, make sure that there is no such field (standard or custom) yet. Avoid duplication!
- To view standard (system) fields, use the corresponding link:
- To view already entered custom fields:
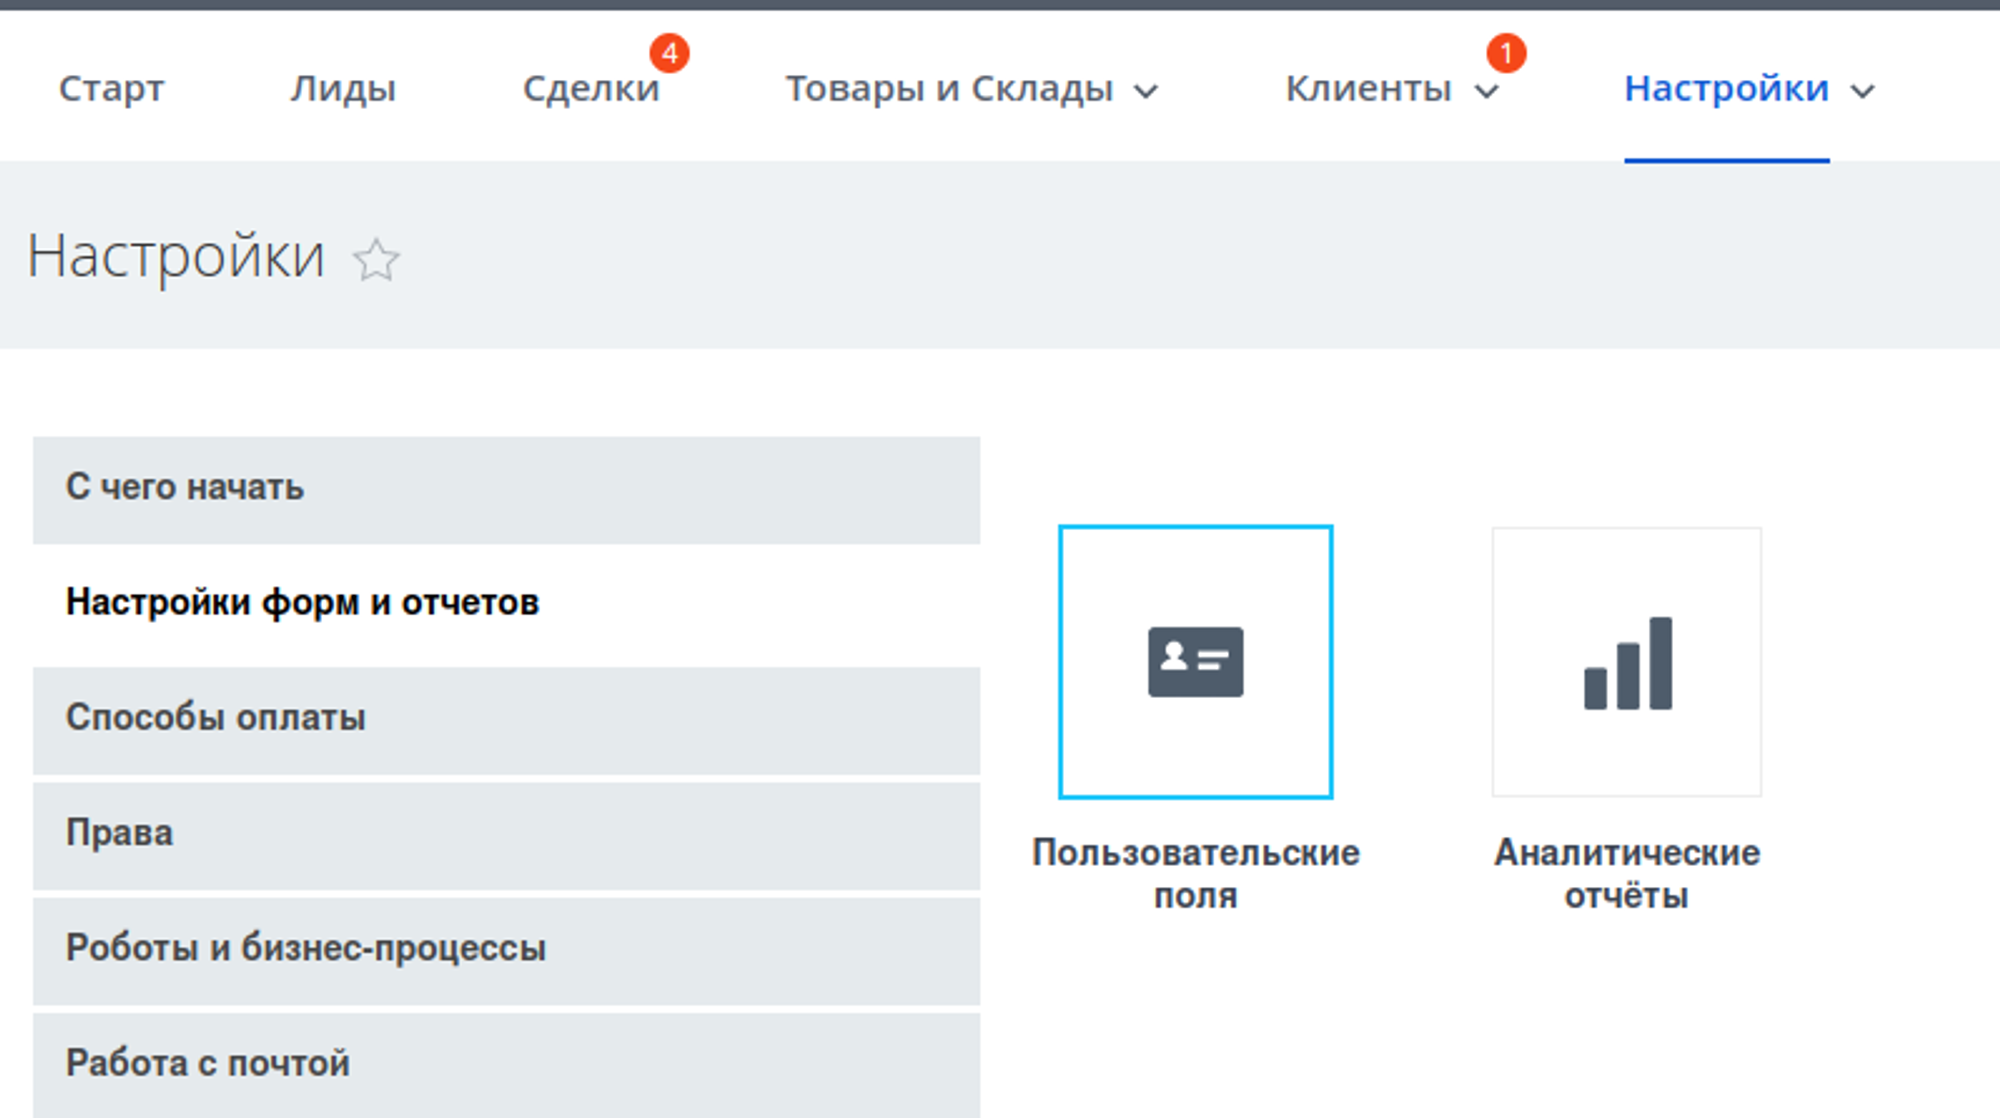
- for CRM entities, use the field lists in the CRM - Settings - Forms and Reports Settings - Custom Fields section.
- for everything else, use the admin panel Settings - Product Settings - Custom Fields.

Starting a new field
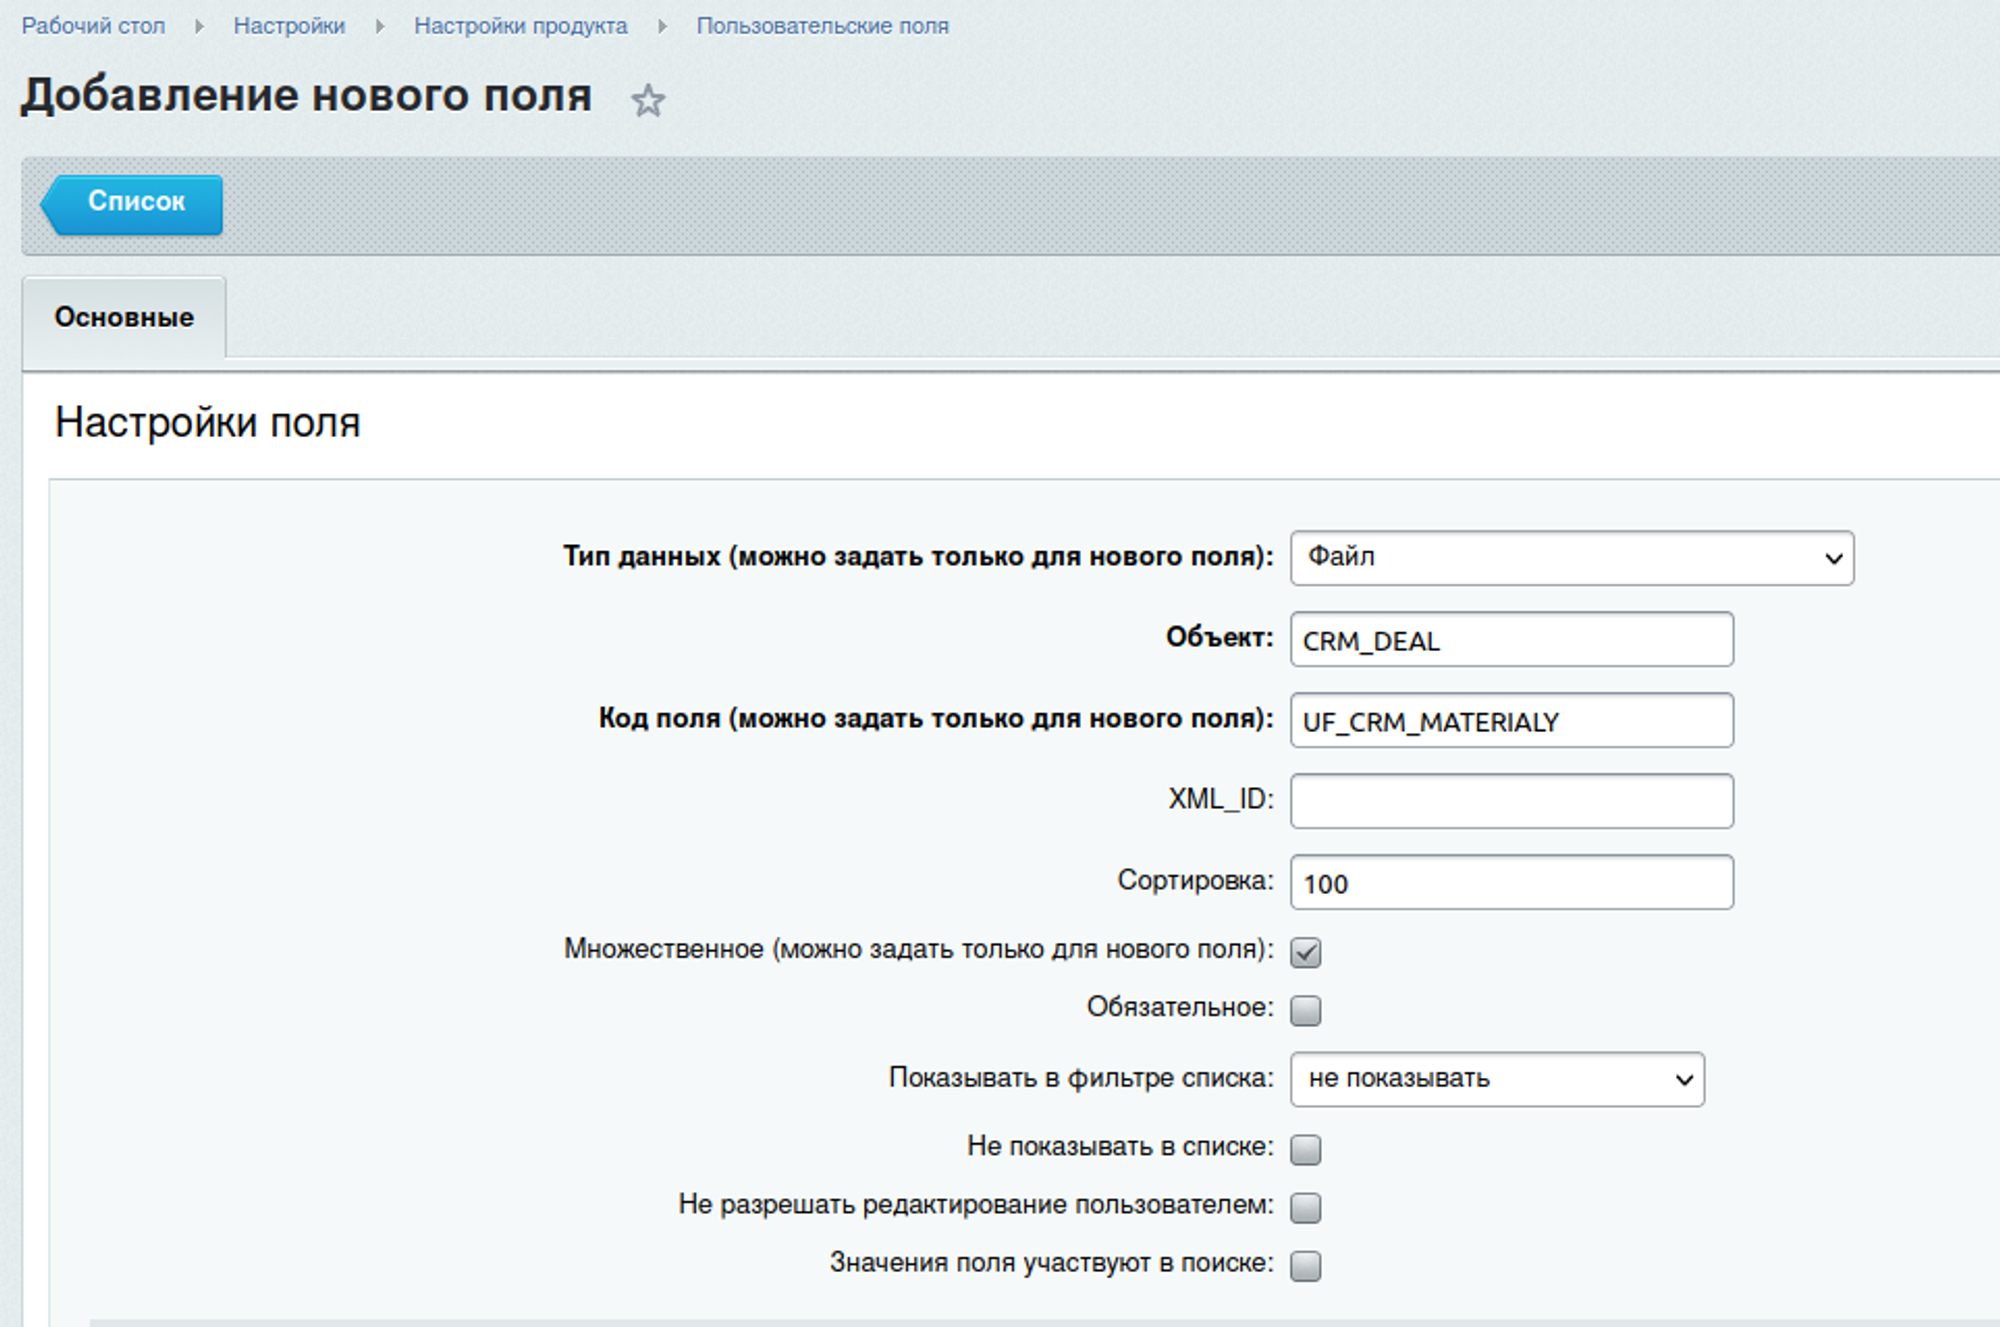
If you are convinced that the required field is not there, then we create a new field through the administrative panel: Settings - Product settings - Custom fields. Click Add.
Select the field data type.
Specify the Object (i.e. the entity to which the created field will be added):
Essence | An object |
Lead | CRM_LEAD |
A deal | CRM_DEAL |
Company | CRM_COMPANY |
Contact | CRM_CONTACT |
Task | TASKS_TASK |
User | USER |
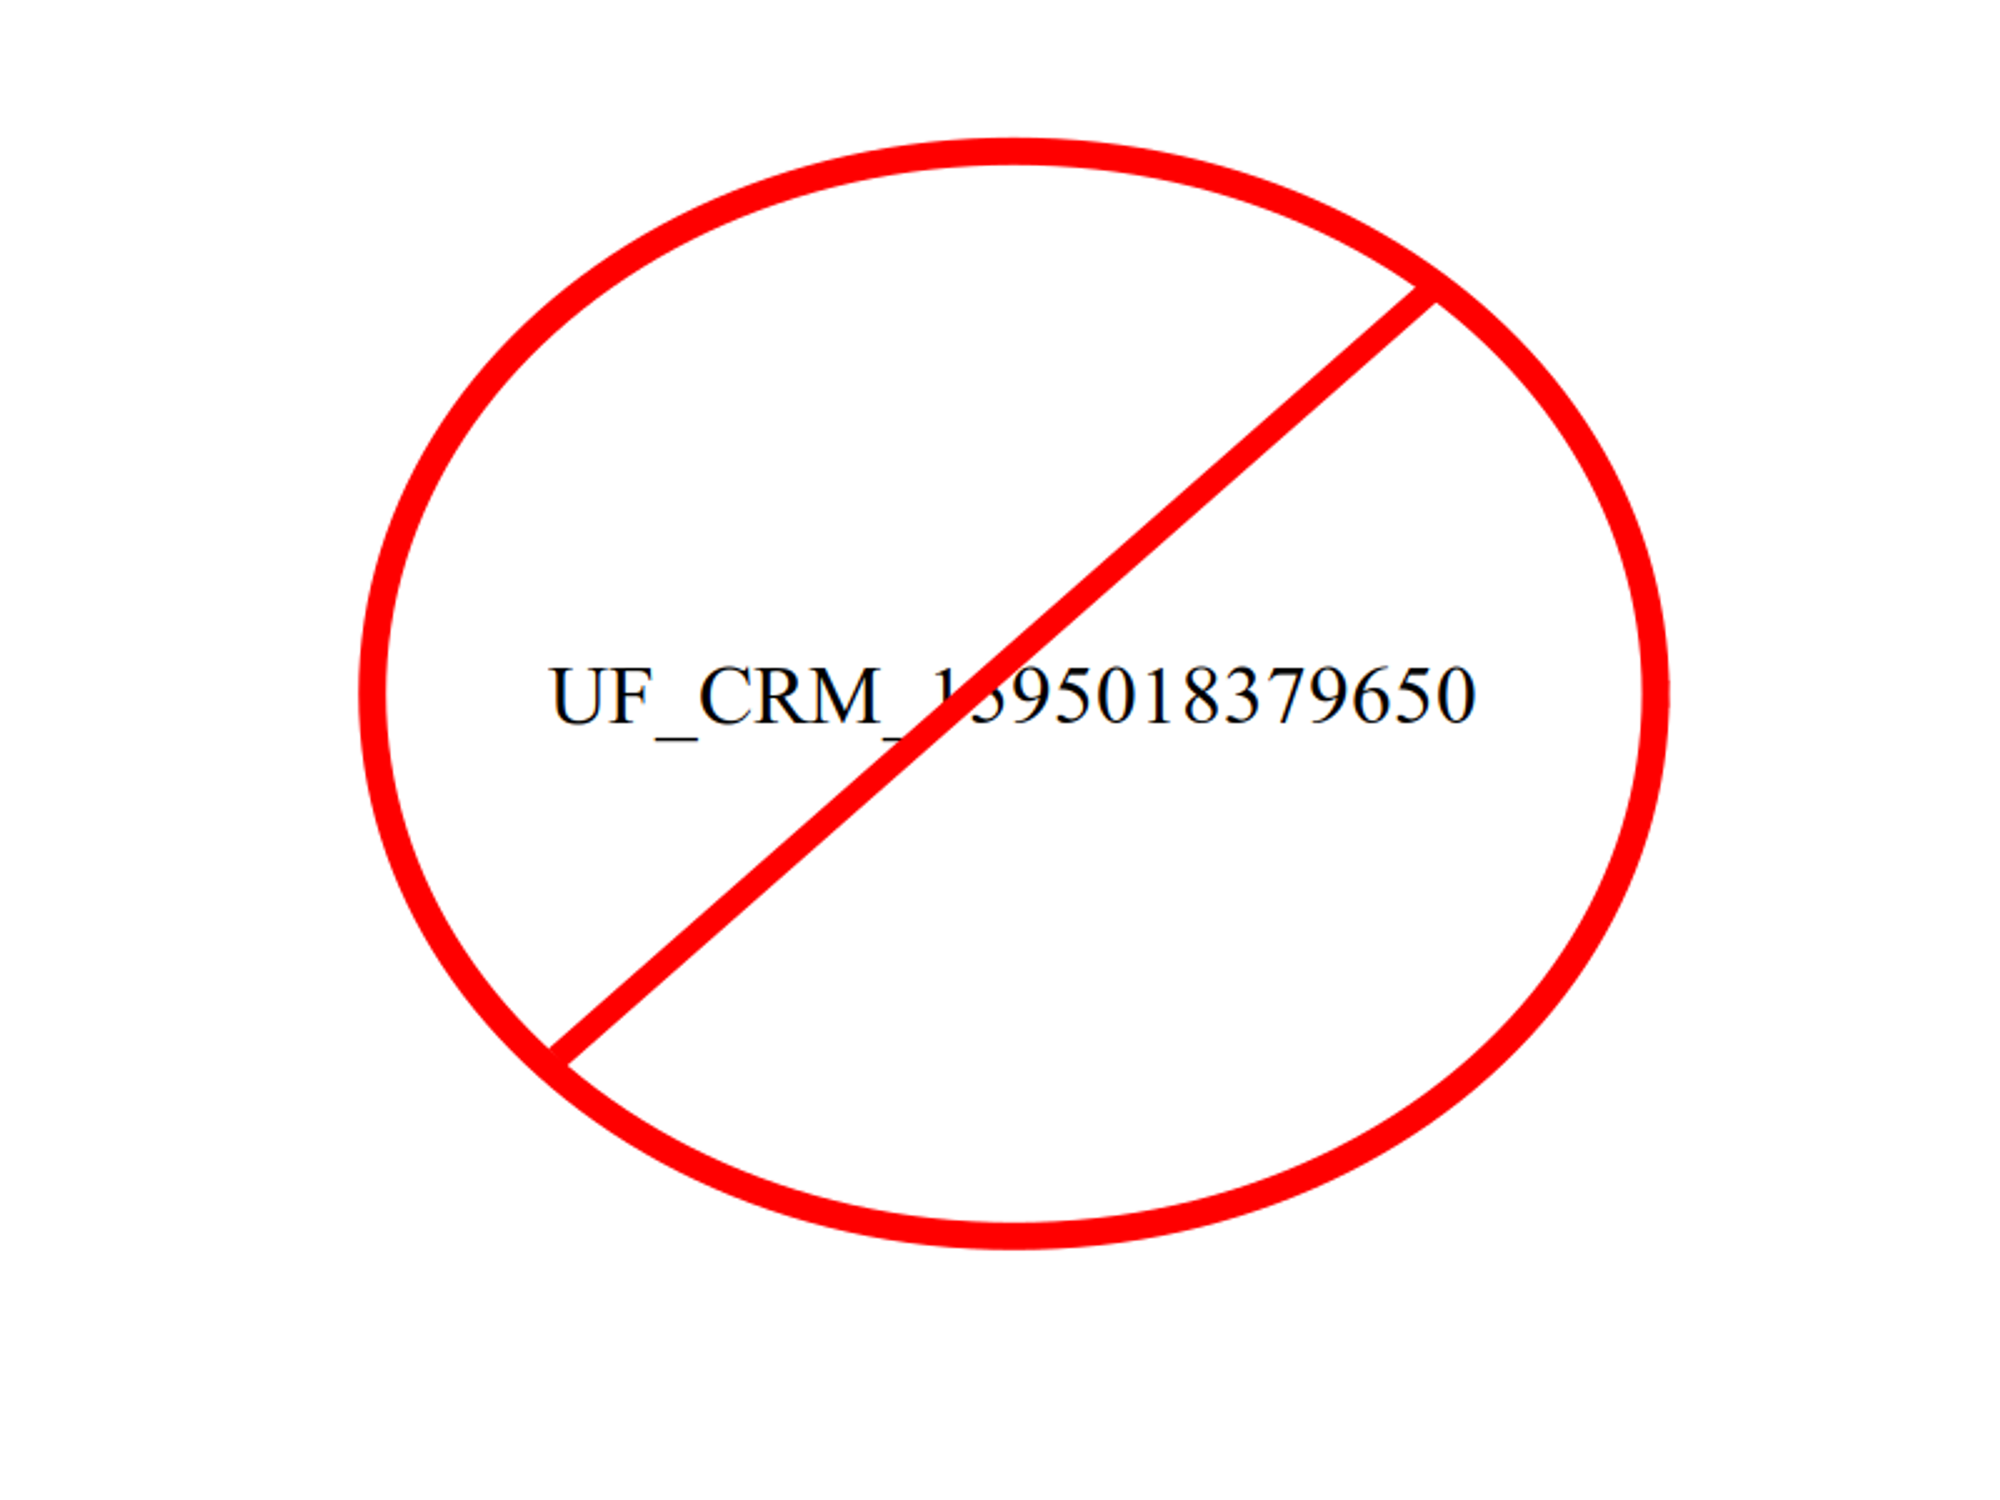
Fill in the field code:
- Latin capital letters
- should start withUF_ (user field)
- must be human-readable
Here are the required additional options:
- plural. Ability to set multiple values in one field.
- Mandatory. Mandatory field.
- Do not allow user editing. Possibility to prohibit editing the field by the user.
Next, optionally fill in additional field settings depending on the selected data type.
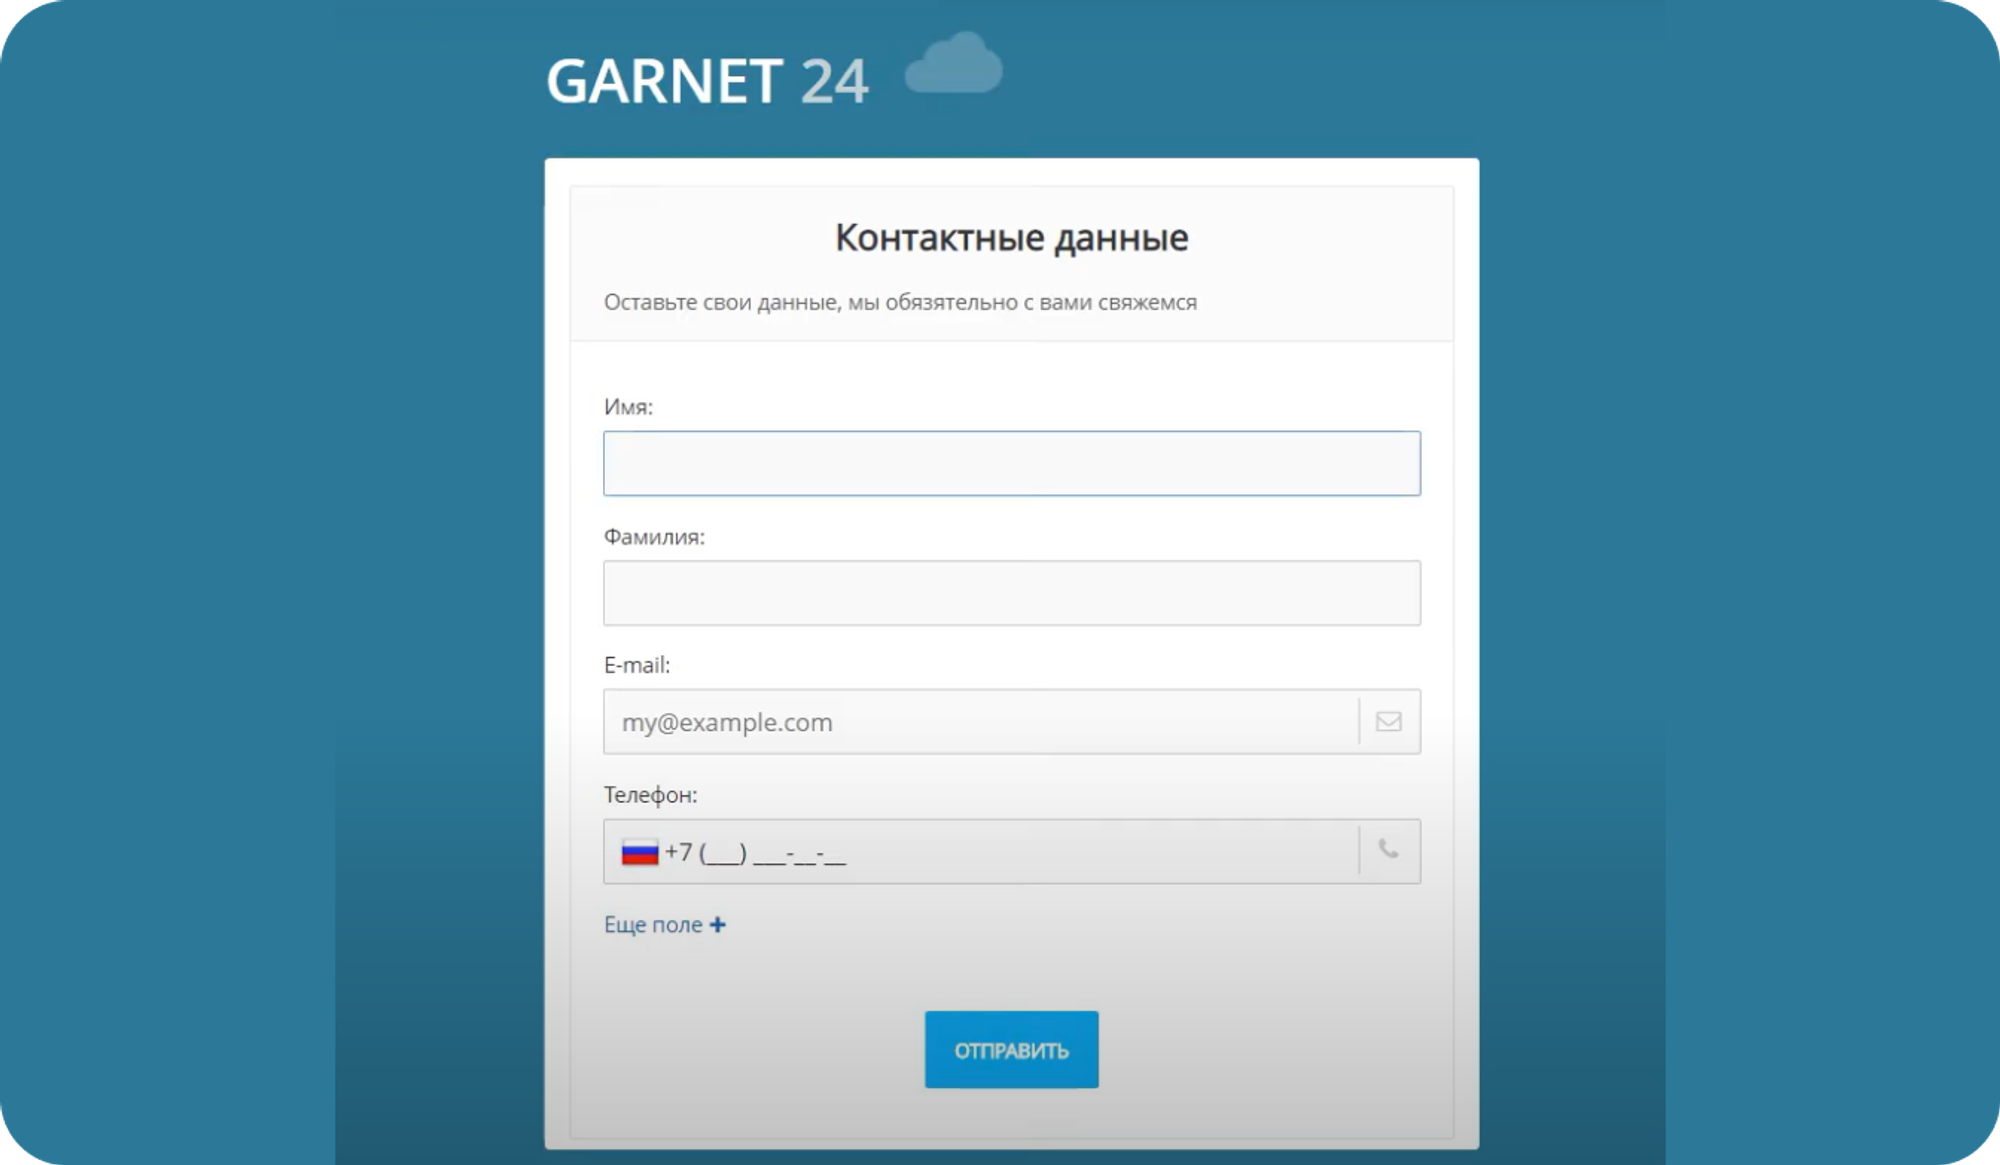
In the Language settings section, fill in the name of the field. Caption in the edit form, Title in the list, Filter caption in the list - most often these 3 parameters can be filled with one value:

Have questions or need to find a solution to Your problem?
Leave a request by filling out the feedback form. Our expert will contact you as soon as possible